
In this article
What normal wear can look likeCleaning without damaging a sealChoosing a replacementA practical checklistAn everyday situationA detail worth rememberingWhen to stop and seek adviceFrequently asked questionsCan I use a hardware-store O-ring?Is a seal safe if it has no visible crack?Related readingSources and further informationRelated articles
Seals and gaskets may look minor, but their condition can affect fit, leakage and maintenance.
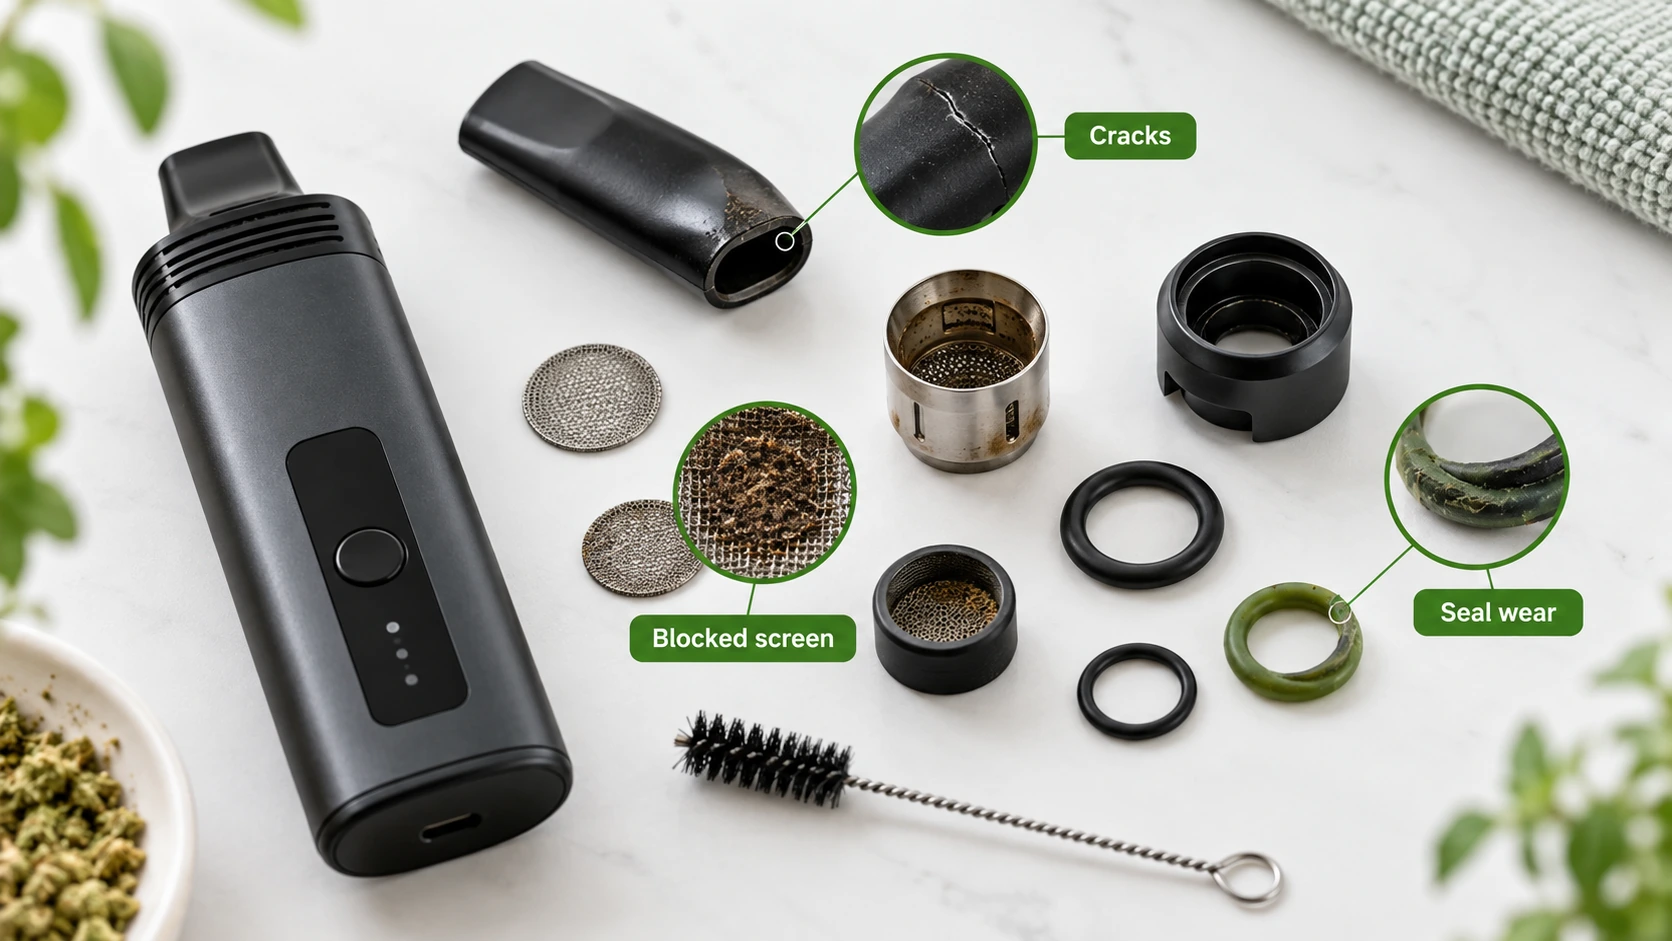
At a glance: Check accessible seals for cracks, flattening and loose seating. Remove only components identified as user-serviceable.
What normal wear can look like
Inspect manufacturer-accessible seals for cracks, flattening, loss of elasticity, frayed edges or a part that no longer sits in its original groove. A gasket may appear intact yet be permanently compressed after extended use. Silicone rings can also pick up debris that prevents even contact. A recurring loose connection, unwanted air gap or an assembly that will not close smoothly may indicate a seal problem, although other causes are possible.
Cleaning without damaging a seal
Only remove gaskets that are described as user-serviceable. Use the approved cleaning method; avoid sharp picks, excessive stretching or strong solvents. Before reassembly, check that the groove is free of debris and the seal is completely dry where required. Do not lubricate a ring with a household oil unless expressly instructed; an unsuitable product can change material properties or contaminate nearby components.
Choosing a replacement
Fit matters as much as appearance. Diameter, cross-section, material grade and intended location may differ between models and revisions. A generic O-ring that looks similar may not perform as specified, particularly near heated or regulated assemblies. Verify the official part number and model compatibility. Replace damaged seals according to the manual rather than repeatedly reinstalling worn components.
A practical checklist
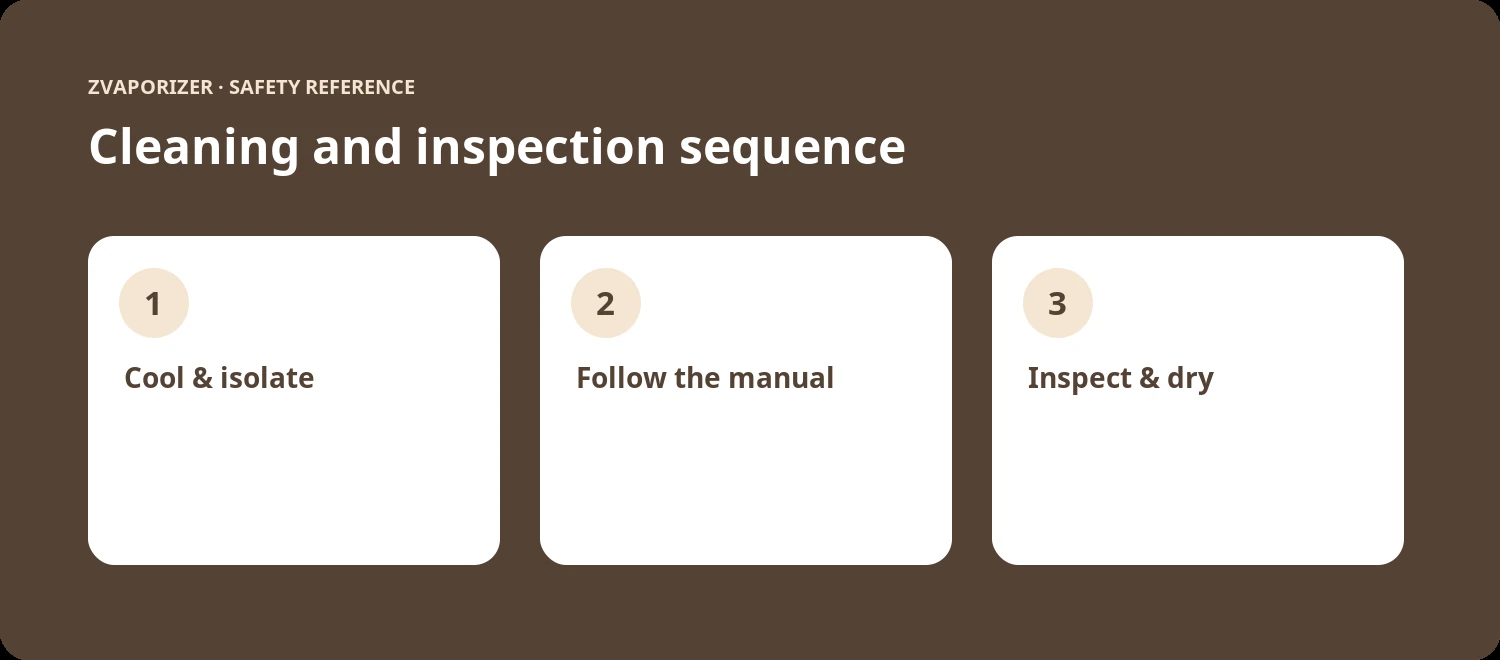
- Check accessible seals for cracks, flattening and loose seating.
- Remove only components identified as user-serviceable.
- Avoid sharp picks, improvised lubrication and stretching.
- Match replacement part number to exact model and revision.
An everyday situation
A seal no longer sits evenly after cleaning and the joint feels loose. Instead of adding glue or fitting an arbitrary rubber ring, the owner checks the part number and compares the seal against the manufacturer’s diagram. Small dimensional differences can change the behaviour of a fitted assembly.
A detail worth remembering
A worn seal may be flattened rather than visibly broken. Routine inspections should include fit and elasticity, not just an obvious visual crack.
When to stop and seek advice
| What you notice | Sensible response |
|---|---|
| Normal maintenance question | Check the official manual for the exact device model. |
| Possible deterioration or persistent fault | Stop the activity and contact the supplier or manufacturer. |
| Heat, swelling, venting, smoke or fire | Prioritise safety; for an active hazard evacuate and call **000**. |
Frequently asked questions
Can I use a hardware-store O-ring?
Only where the manufacturer explicitly approves an equivalent specification; appearance alone cannot verify compatibility.
Is a seal safe if it has no visible crack?
Not necessarily. Permanent compression or poor fit can also require replacement.
Related reading
- Vaporiser Device Safety & Maintenance Explained
- Cleaning Electronic Devices: General Safety Principles
- Why Manufacturers Specify Cleaning Materials
- Lithium-Ion Battery Safety in Portable Devices
Sources and further information
This general safety information does not replace a manufacturer’s instructions or an emergency service’s advice. It does not establish the permitted supply, advertising or use of any particular vaping good in Australia.